Developers
Sending WhatsApp Media Messages From An App
|
June 28, 2022
Developers
|
June 28, 2022

To follow and understand the tutorial, you should have a basic knowledge of Node.js and Express.js applications. Additionally, ensure you’ve completed the basic steps in our guide to getting started in the WhatsApp documentation. If you’re a business solutions provider (BSP), follow our BSP guide and ensure your application passes the review process.
Make sure you have three items ready:
(whatsapp_business_management, whatsapp_business_messaging, and business_management).
If you’re eager to see the final application, you can check out the final project code.
For this demonstration, you’ll use this basic skeleton Node.js and Express.js server along with the necessary dependencies and skeleton functions already created.
The tutorial also includes a request package to carry out HTTP requests as your application communicates with an API. There are two variables in the application’s .env file:
META_AUTH_TOKEN and MESSAGING_PRODUCT.
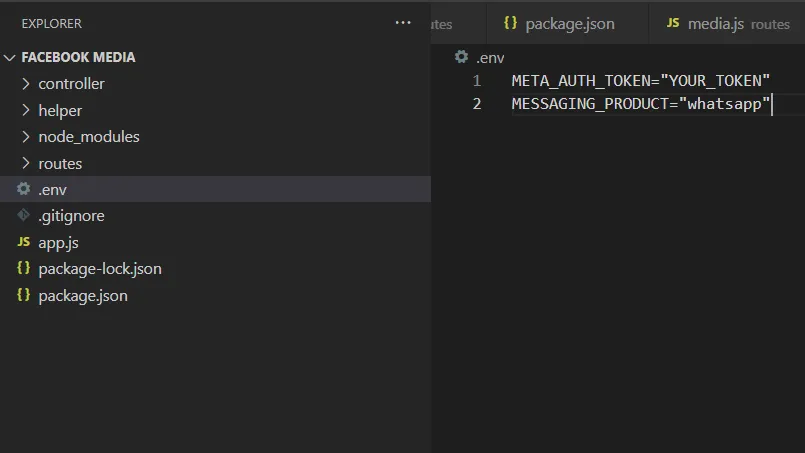
After setting up the server, you can jump right into API creation.
Before you can send any media-based messages using WhatsApp, you must upload media for WhatsApp to access later. Media files uploaded to WhatsApp persist for 30 days unless you delete them.
You need to create a new POST route inside the routes/media.js file that you can use to manage your media. According to the documentation, you need to pass four items:
When you create an API call, though, you only need a phone number ID and file. The remaining fields you generate using the helper functions.
You use the npm package formidable to process the form data. Note that the WhatsApp Business API has some limitations on specific types and sizes, which you can find in the Supported Media Types section at the bottom of the Media documentation. There are two helper functions inside the helper/validations.js file in the skeleton project to cope with that.
To upload an image, you need to initialize a new formidable form. Using the form object, parse the file and perform some validations using the helper functions. Next, perform a POST request with form data and a valid authentication token using the request.
exports.uploadMedia = async (req, res) => {let form = new formidable.IncomingForm();
form.keepExtensions = true;
form.parse(req, async (err, fields, files) => {if (err) {return res.status(400).json({error: "Media could not be uploaded",
});
}
if (!files.file) {return res.status(400).json({error: "Media File is required",
});
}
let isFileValidSize = validateMediaSize(files.file.size, files.file.type);
if (!isFileValidSize) {return res.status(400).json({error: `Media File size should be less than ${mediaLimits(files.file.type
)}`,
});
}
request.post(
{url: `https://graph.facebook.com/v13.0/${req.params.id}/media`,formData: {file: {value: fs.createReadStream(files.file.path),
options: {filename: files.file.name,
contentType: files.file.type,
},
},
type: files.file.type,
messaging_product: process.env.MESSAGING_PRODUCT,
},
headers: {Authorization: `Bearer ${process.env.META_AUTH_TOKEN}`,"content-type": "multipart/form-data",
},
},
function (err, resp, body) {if (err) {console.log("Error!");} else {res.json(JSON.parse(body));
}
}
);
});
};
After adding this function, you can test this route using Postman. This is how the final object should look in Postman’s interface:

Once you click Send, you get the upload media ID as a response from the API.

Make note of the upload media ID as we’ll use it later in this tutorial. If you’re building an application with a data layer, you can store this ID in your database for later use. Or, your front-end application can store the ID temporarily in the variables or state.
Now, use the media ID you retrieved in the previous step to send a media message to the customer. According to the API reference, you must send five items to the API to successfully send the media message to the customer:
The function looks like this:
exports.sendMediaMessage = async (req, res) => {const { id, to, type } = req.body;if (!id || !to || !type) {return res.status(400).json({error: "Required Fields: to, type and id",
});
}
request.post(
{url: `https://graph.facebook.com/v13.0/${req.params.id}/messages`,headers: {Authorization: `Bearer ${process.env.META_AUTH_TOKEN}`,"content-type": "application/json",
},
body: `{"messaging_product": "whatsapp",
"recipient_type": "individual",
"to": "${to}","type": "${type}","${type}": {"id": "${id}",},
}`,
},
function (err, resp, body) {if (err) {console.log("Error!");} else {res.json(JSON.parse(body));
}
}
);
};
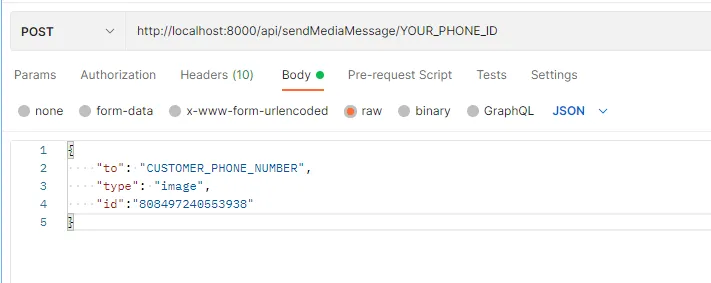
If you run this endpoint in Postman, with the necessary details and arguments, this is how it looks.
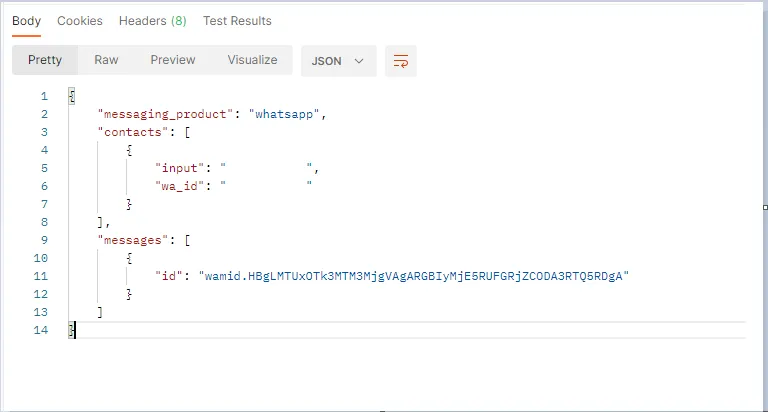
After sending, you see the following output in Postman, which includes the message ID as well.
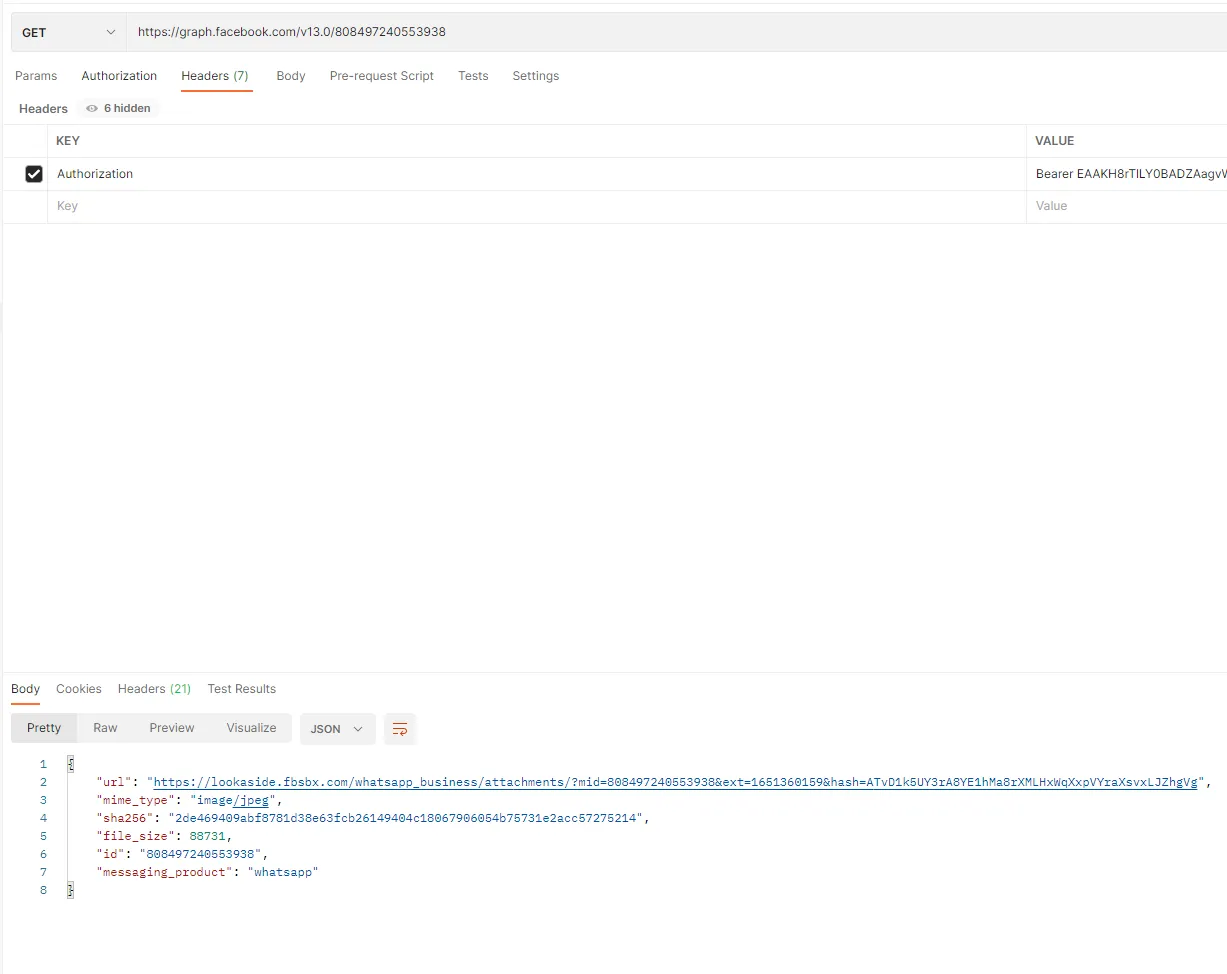
Retrieving the media URL can be done easily with the GET operation and the fetched or stored media ID.
exports.getMediaUrl = async (req, res) => {request.get(
{url: `https://graph.facebook.com/v13.0/${req.params.id}`,headers: {Authorization: `Bearer ${process.env.META_AUTH_TOKEN}`,},
},
function (err, resp, body) {if (err) {console.log("Error!");} else {res.json(JSON.parse(body));
}
}
);
};
This is how the Postman request and response looks after successfully fetching the media item.
To delete media, you’ll use the same WhatsApp API endpoint for media requests with the DELETE operation.
exports.deleteMedia = async (req, res) => {request.delete(
{url: `https://graph.facebook.com/v13.0/${req.params.id}`,headers: {Authorization: `Bearer ${process.env.META_AUTH_TOKEN}`,},
},
function (err, resp, body) {if (err) {console.log("Error!");} else {res.json(JSON.parse(body));
}
}
);
};
After the successful media deletion, the API sends the following response:
This tutorial is just one example of what you can do with the WhatsApp Business Platform. As you plan your next project, check out the WhatsApp Business Platform documentation for a full understanding of its media functionality and limitations.
Be sure to keep the following in mind:
Here’s a list of the currently supported media types. Check out Supported Media Types for more information.
The WhatsApp Business Platform can provide opportunities to engage your customers using rich media messaging. Building an API-based application allows you to collect and build a media library that your users can leverage to send messages consistently and efficiently, reducing repetitive work.
Check out the WhatsApp developer portal and start building your application today to see what else is available.